【Googleカレンダー】共有
予定を共有する方法として簡単な方法としてGoogleカレンダーの利用をおすすめします。

Googleカレンダーを使用する方法について紹介します。
ブラウザでGoogleカレンダーを表示する
Googleカレンダー:https://calendar.google.com
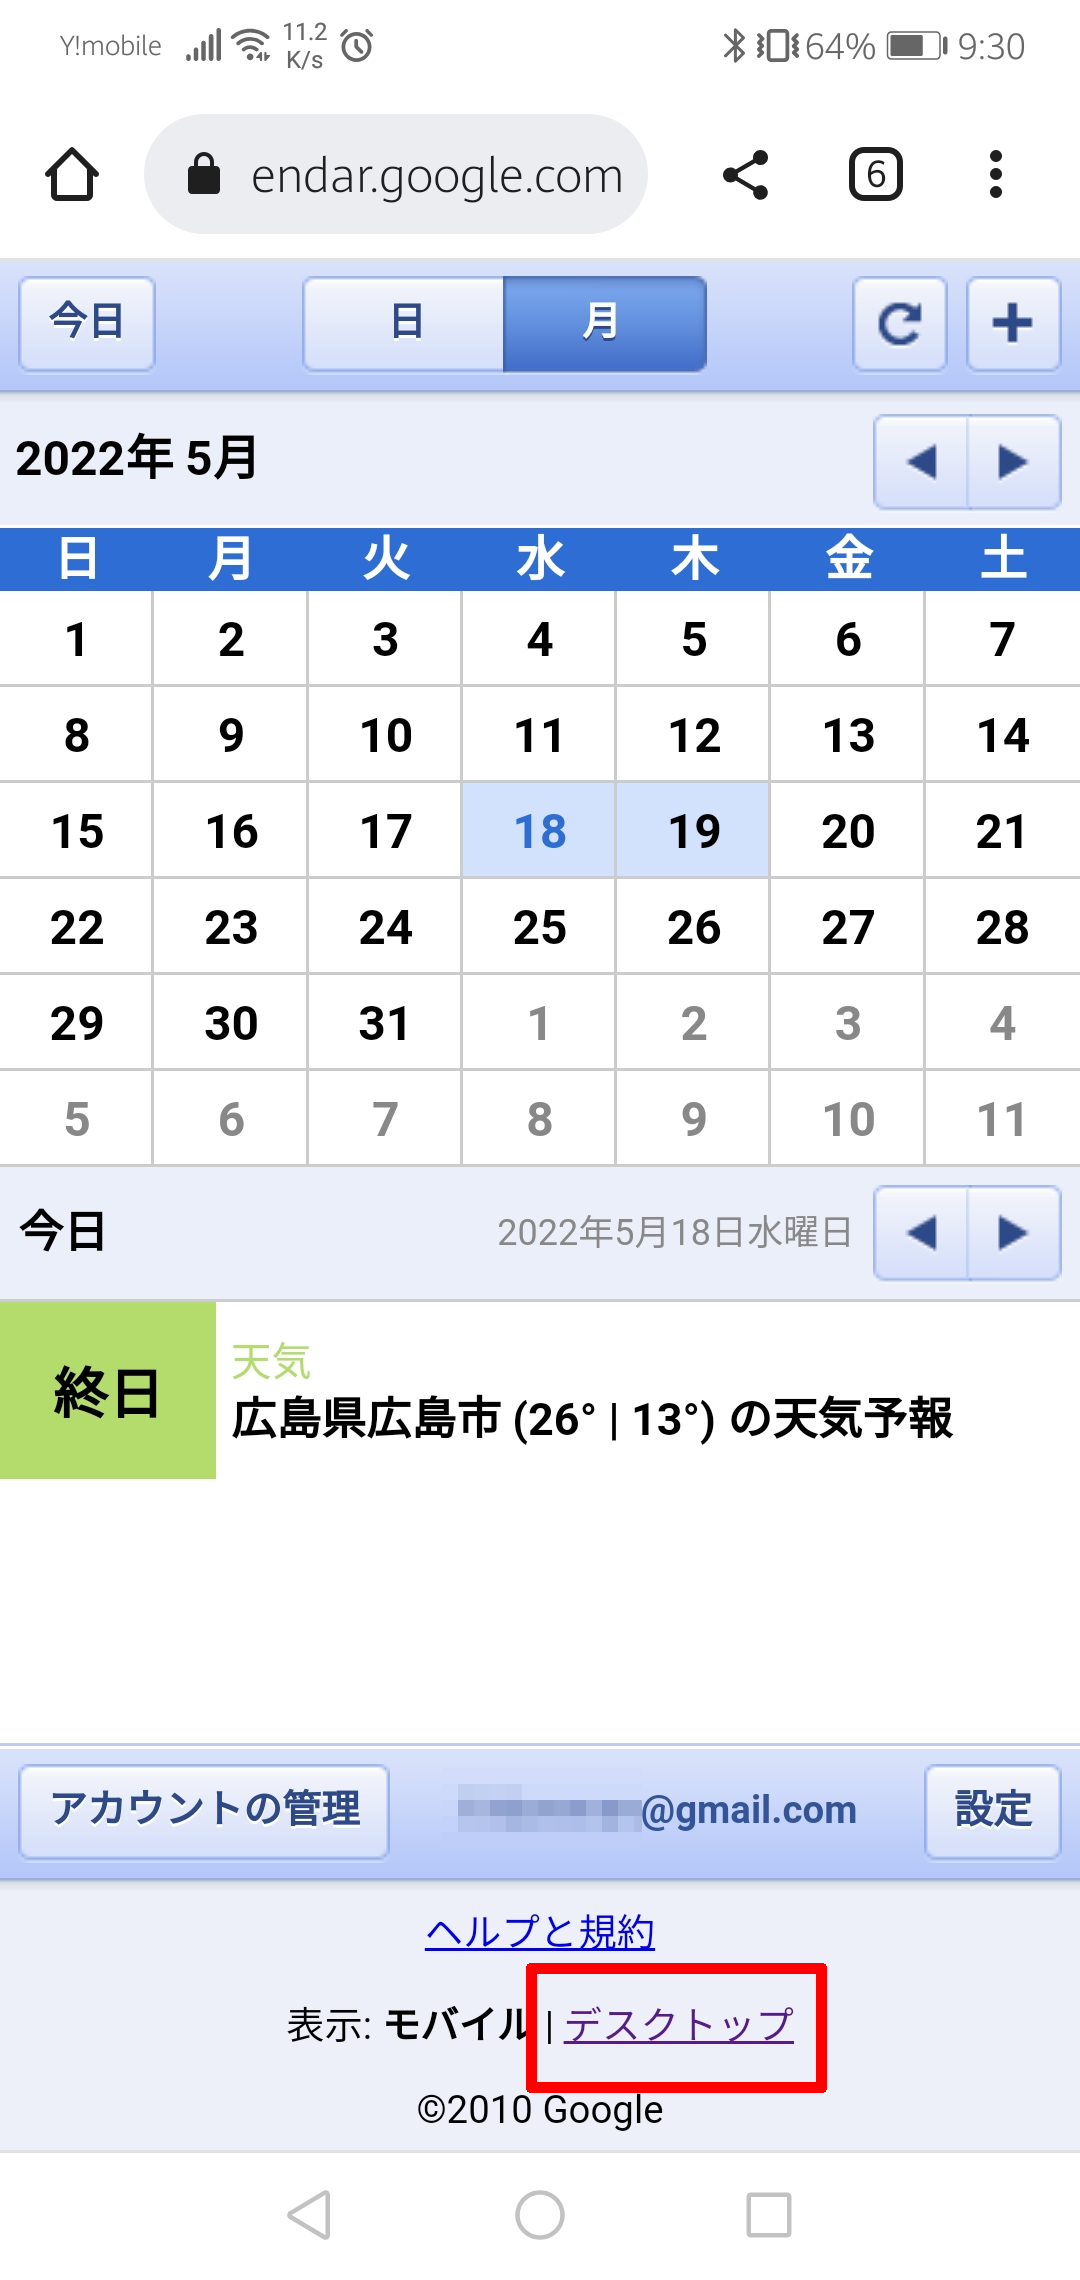
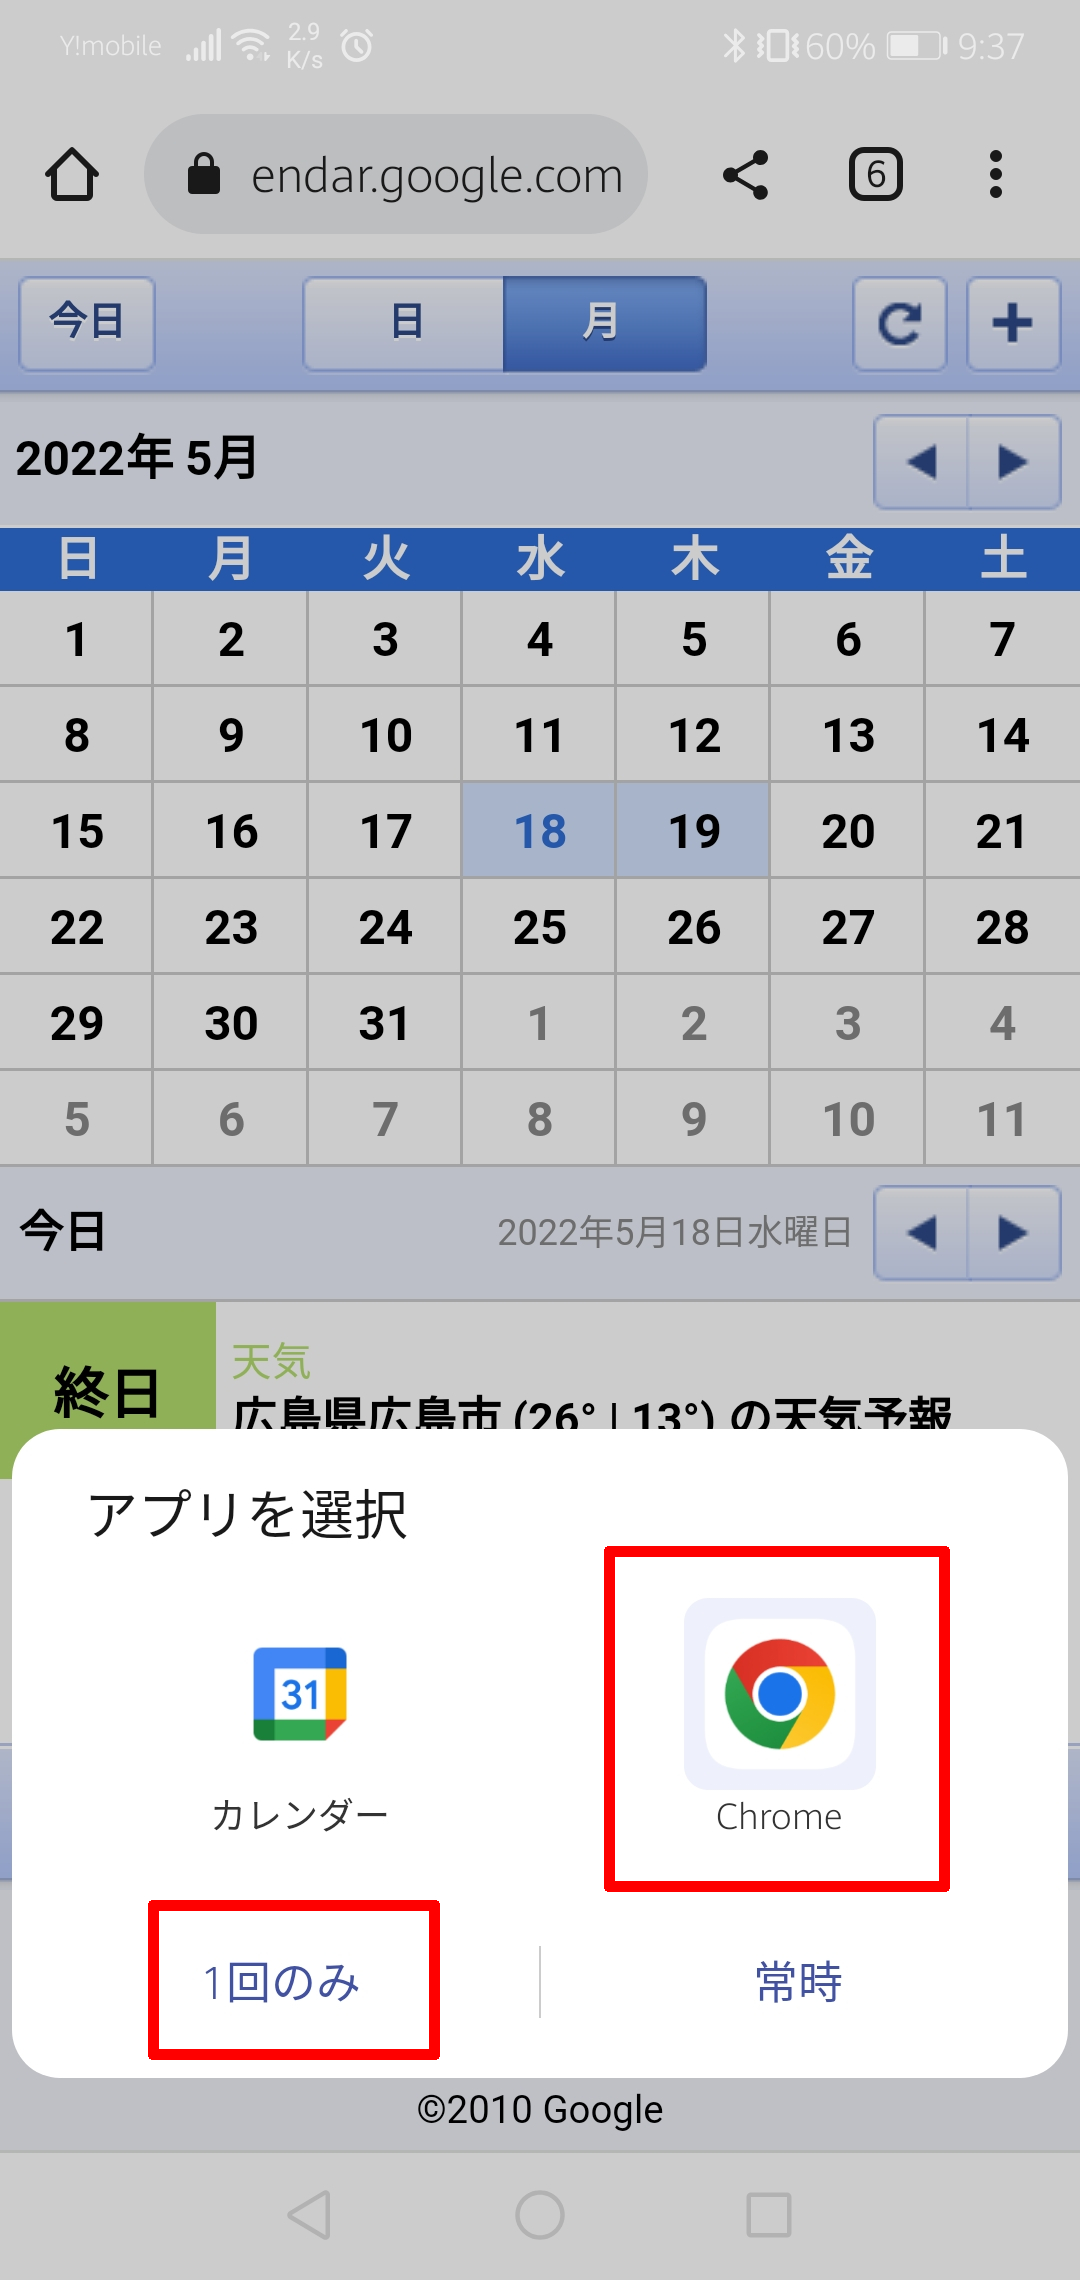
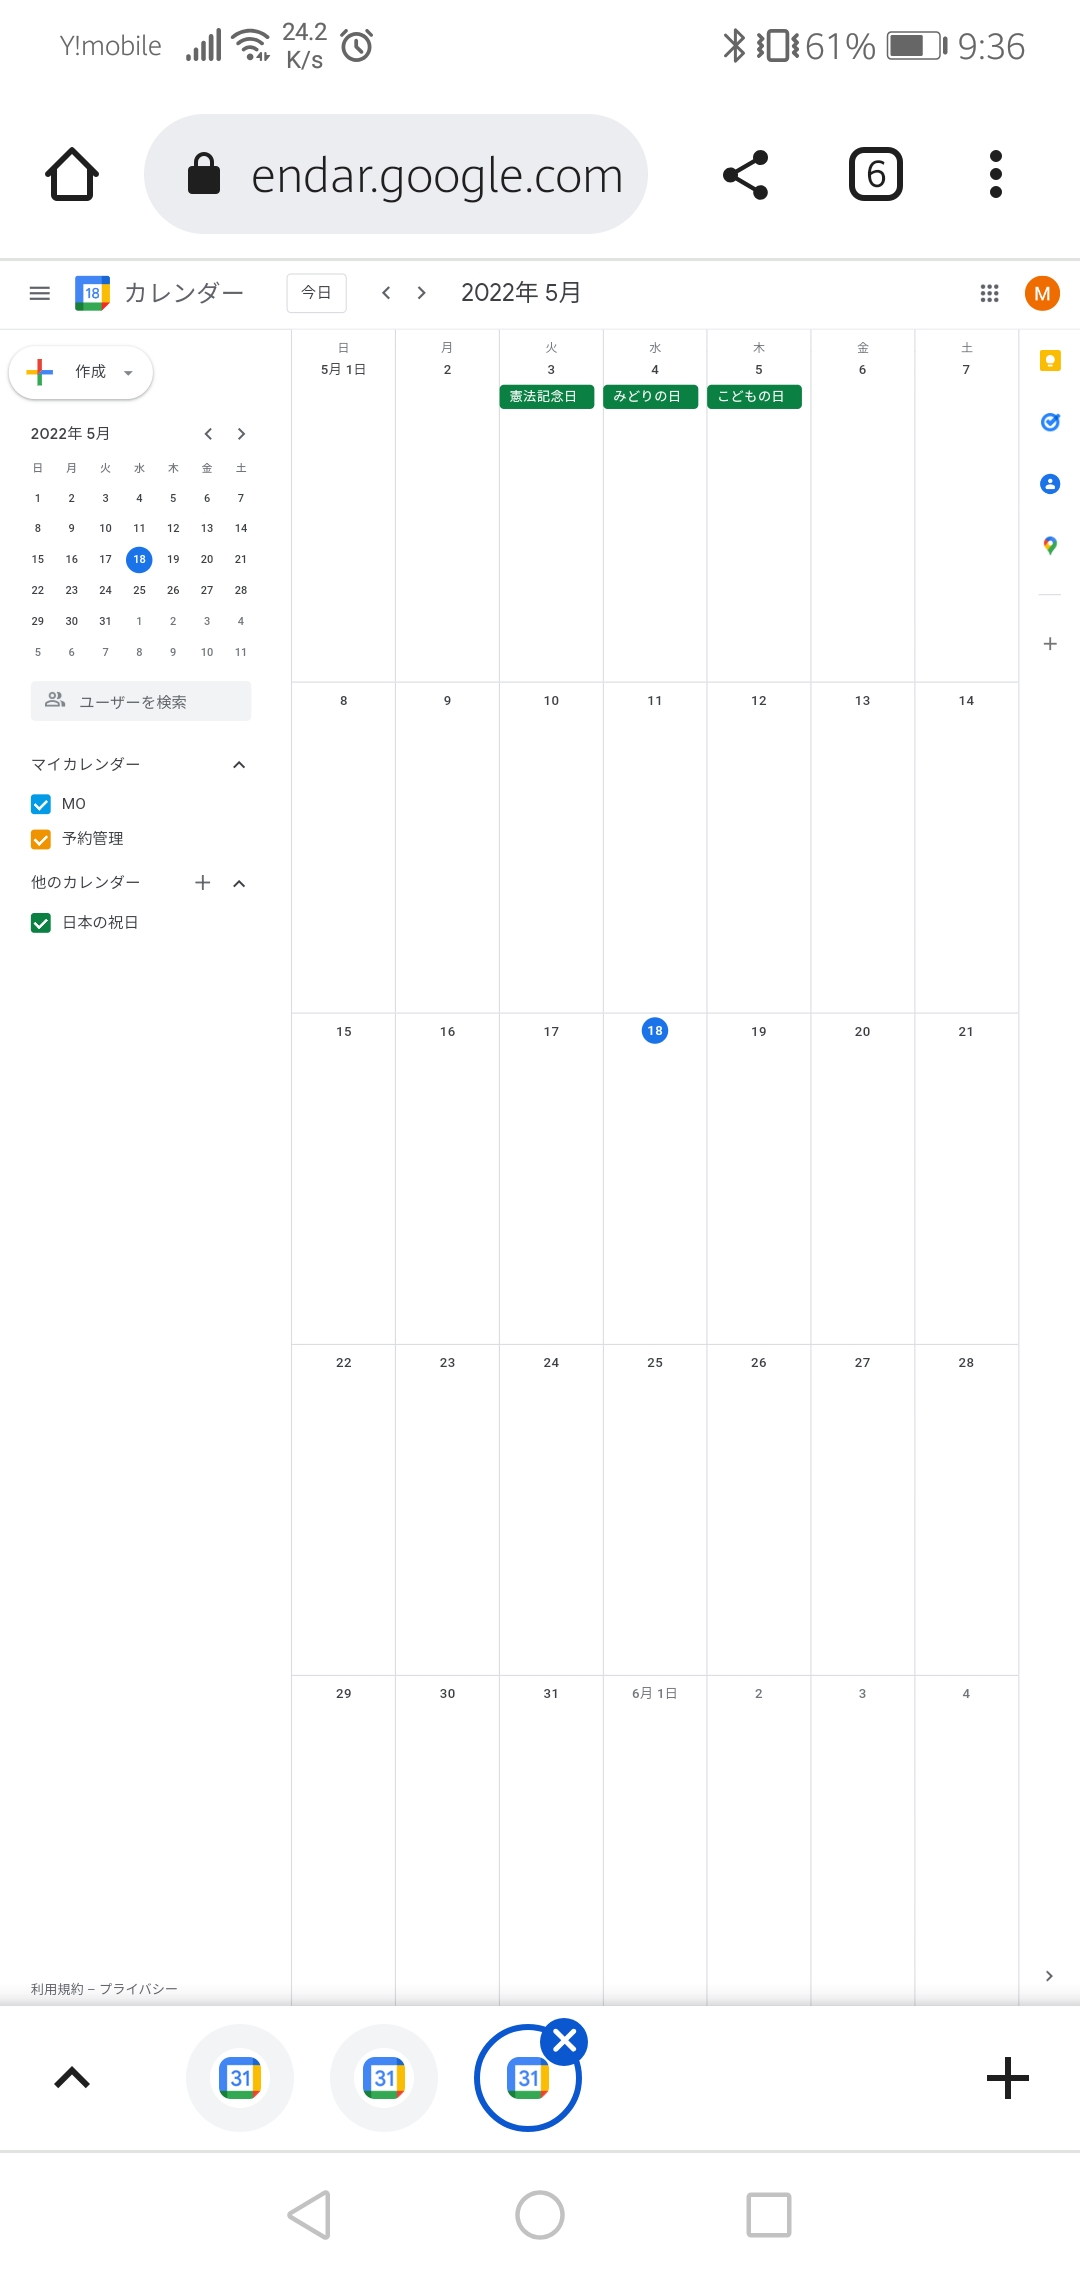
・スマホのアプリの「Googleカレンダー」では共有の設定はできないので、スマホの場合でもブラウザでGoogleカレンダーを表示させてください。また、「表示」を「デスクトップ」表示に切り替えてください。
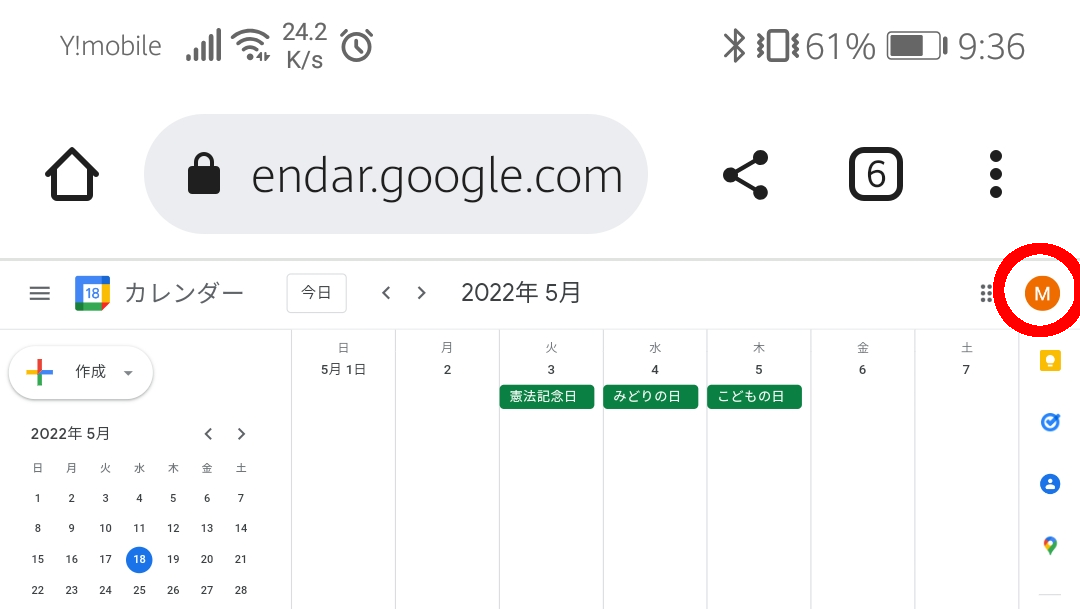
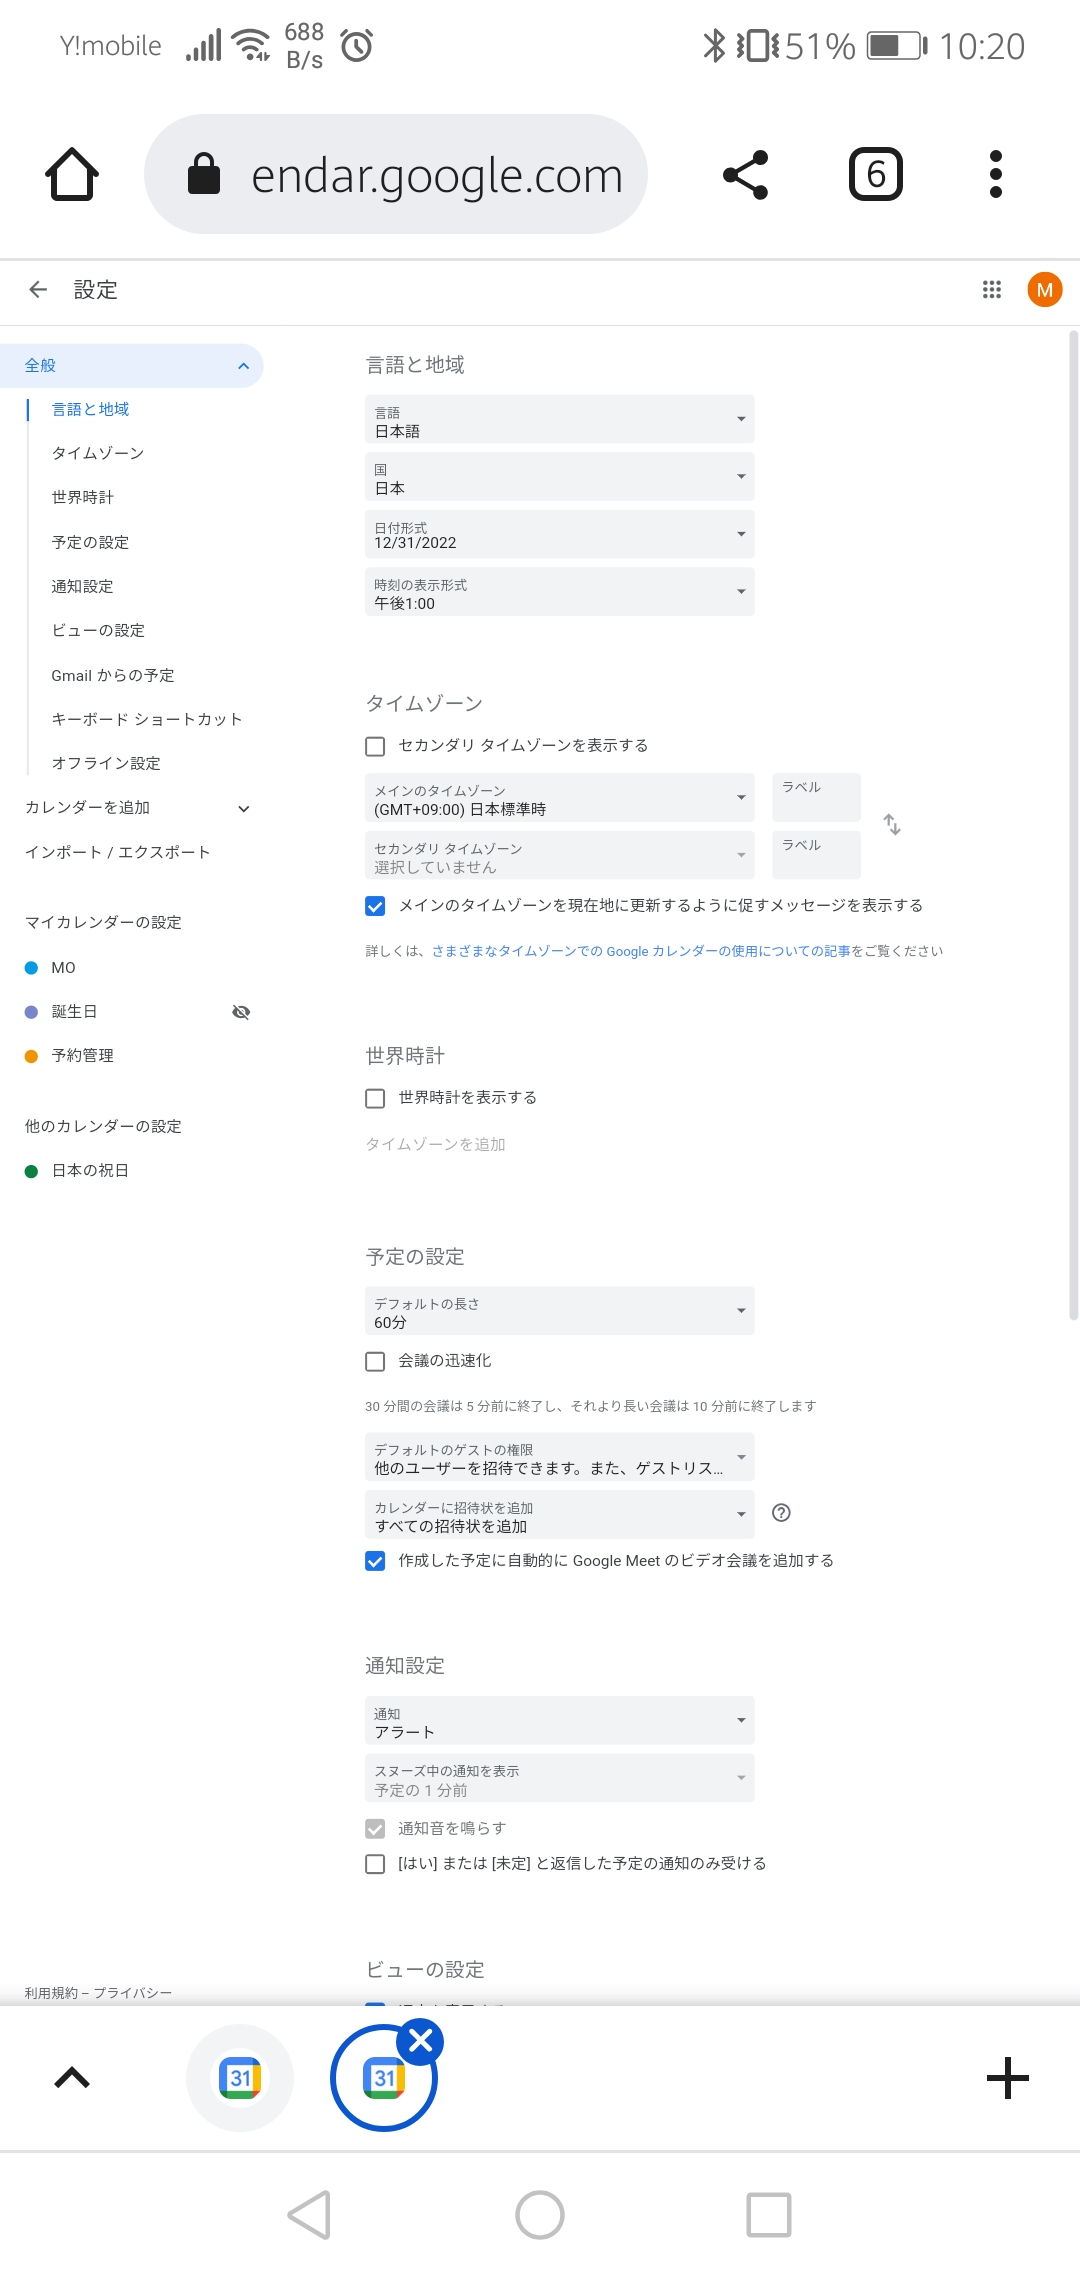
・下記〇を確認して、共有したいGoogleアカウントになっているか確認する。Googleアカウントが異なる場合は、〇内のアイコンをタップしてGoogleアカウントを変更する。
共有するカレンダーを作成する
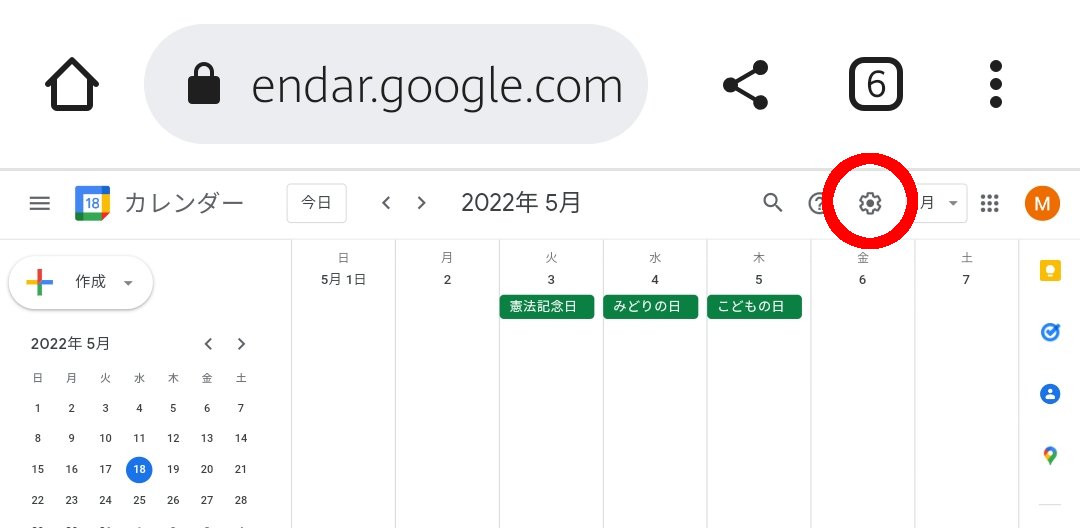
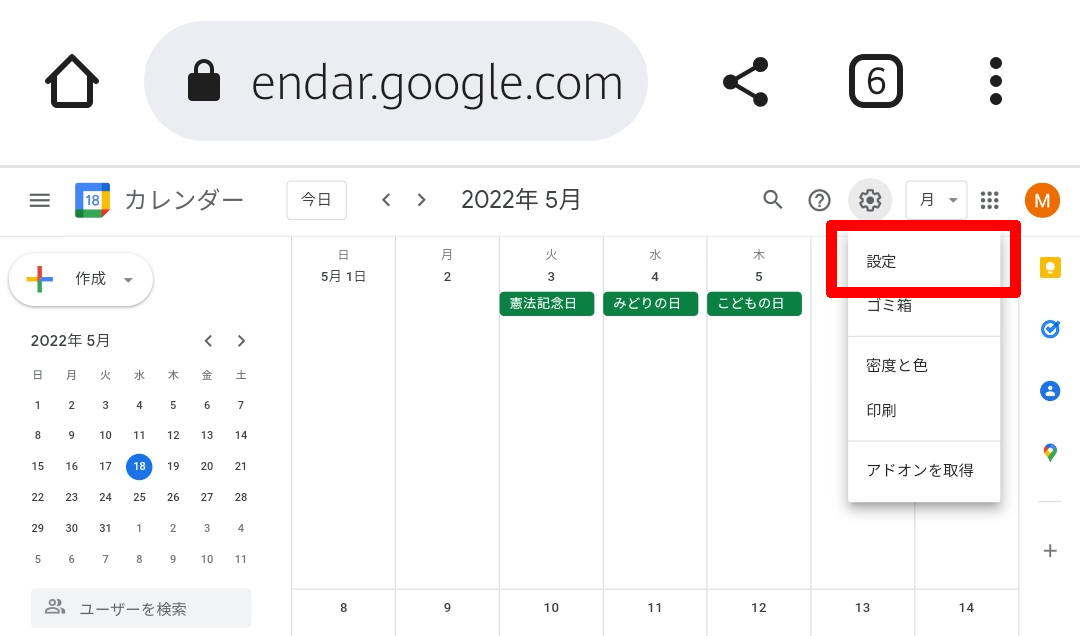
・Googleアイコンの横にある![]() アイコンをタップ →「設定」をタップ
アイコンをタップ →「設定」をタップ
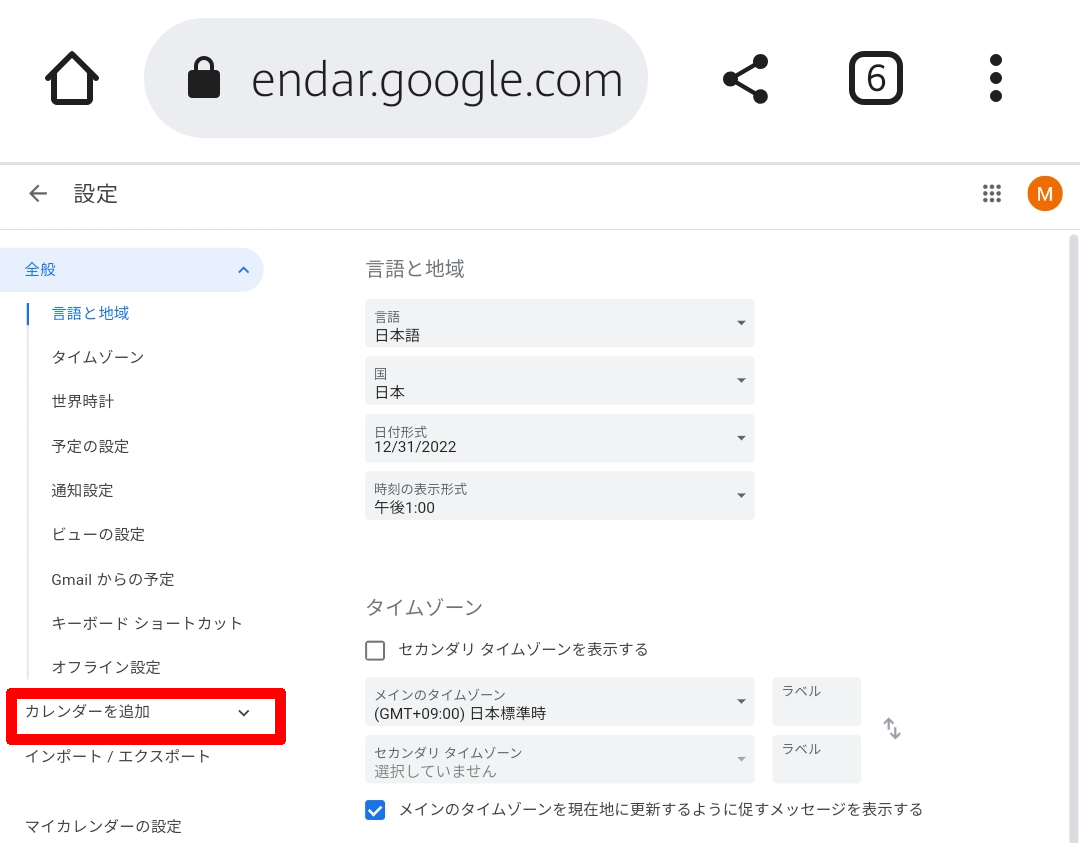
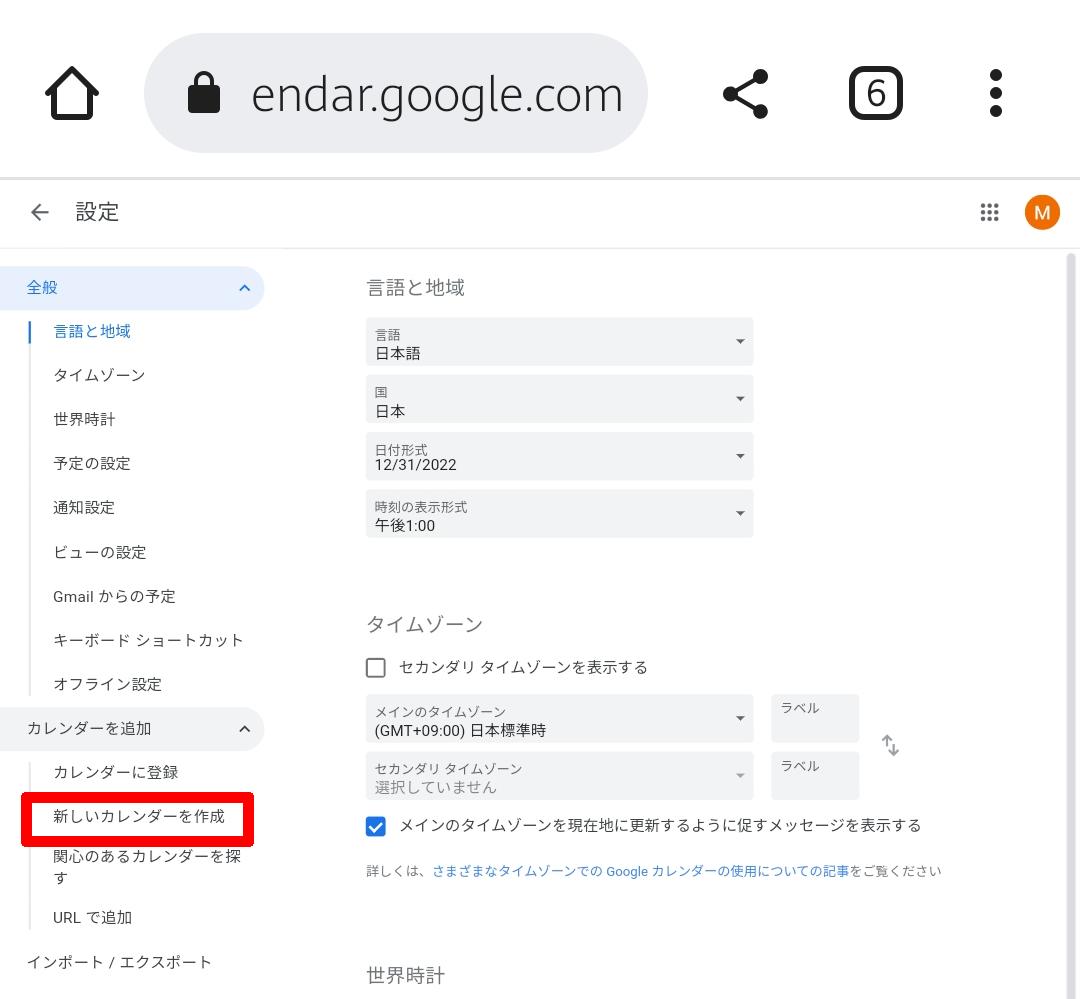
・左のメニューから「カレンダーを追加」をタップ → 「新しいカレンダーを作成」をタップ
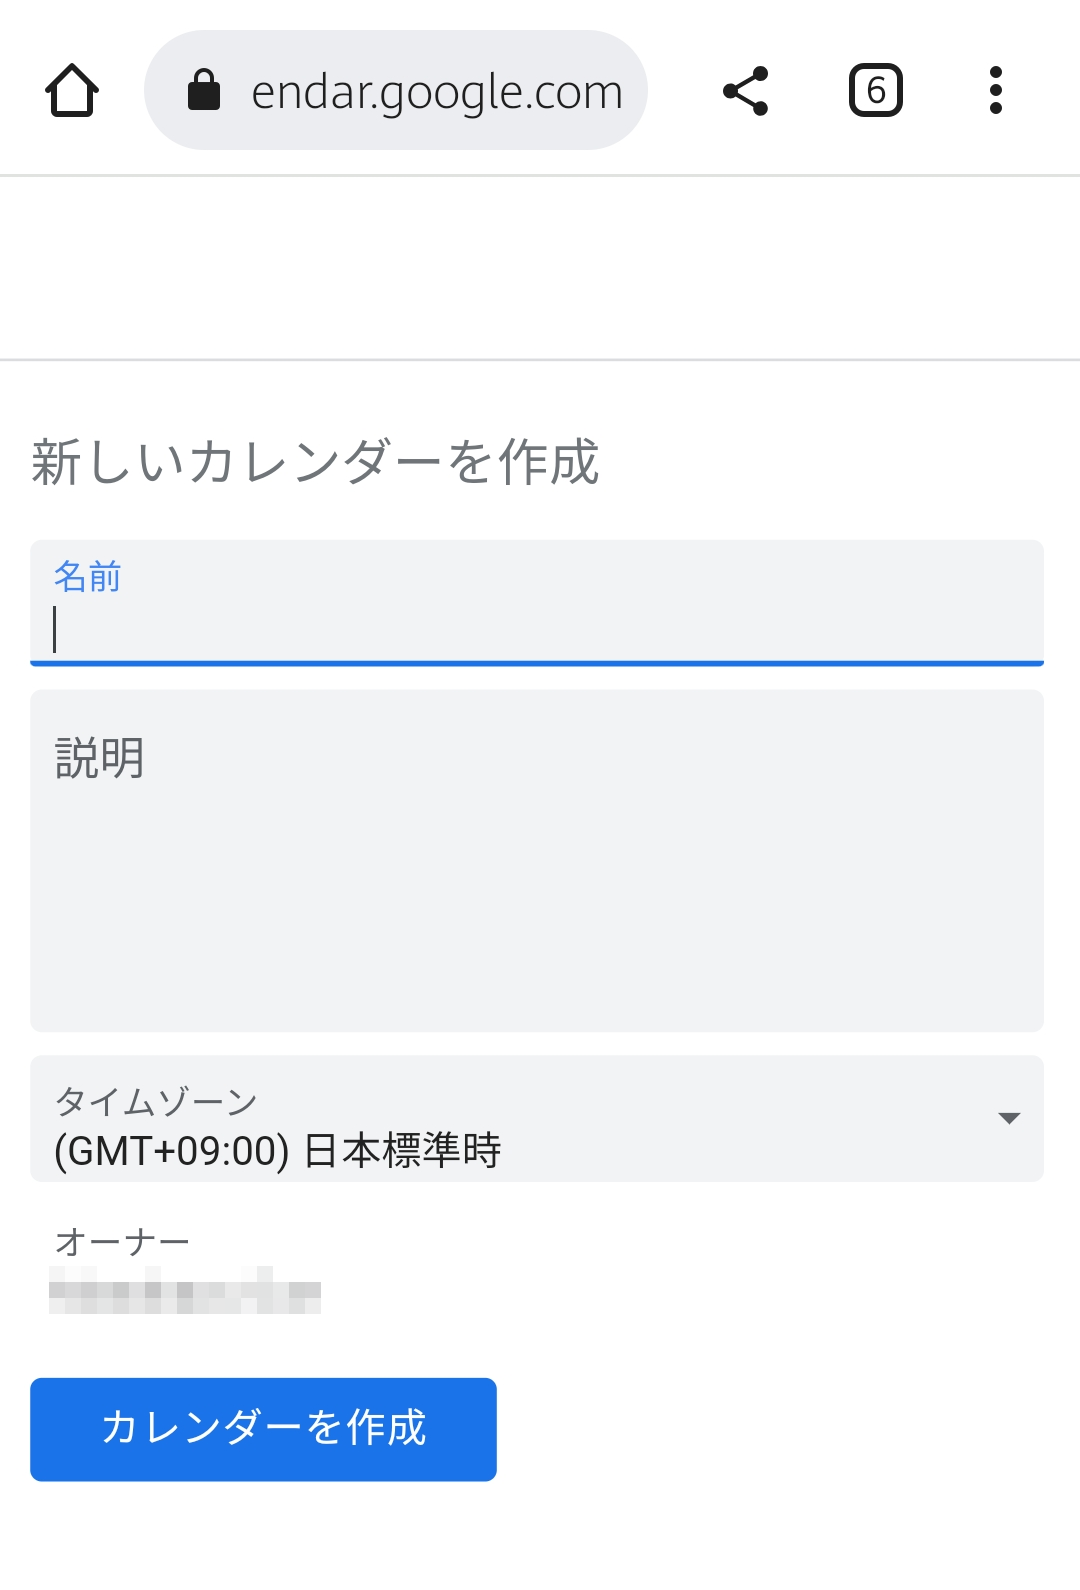
・カレンダーの名前を入力 → 「カレンダーを作成」をタップ
・カレンダーの名前は好きな名前を入力できます。
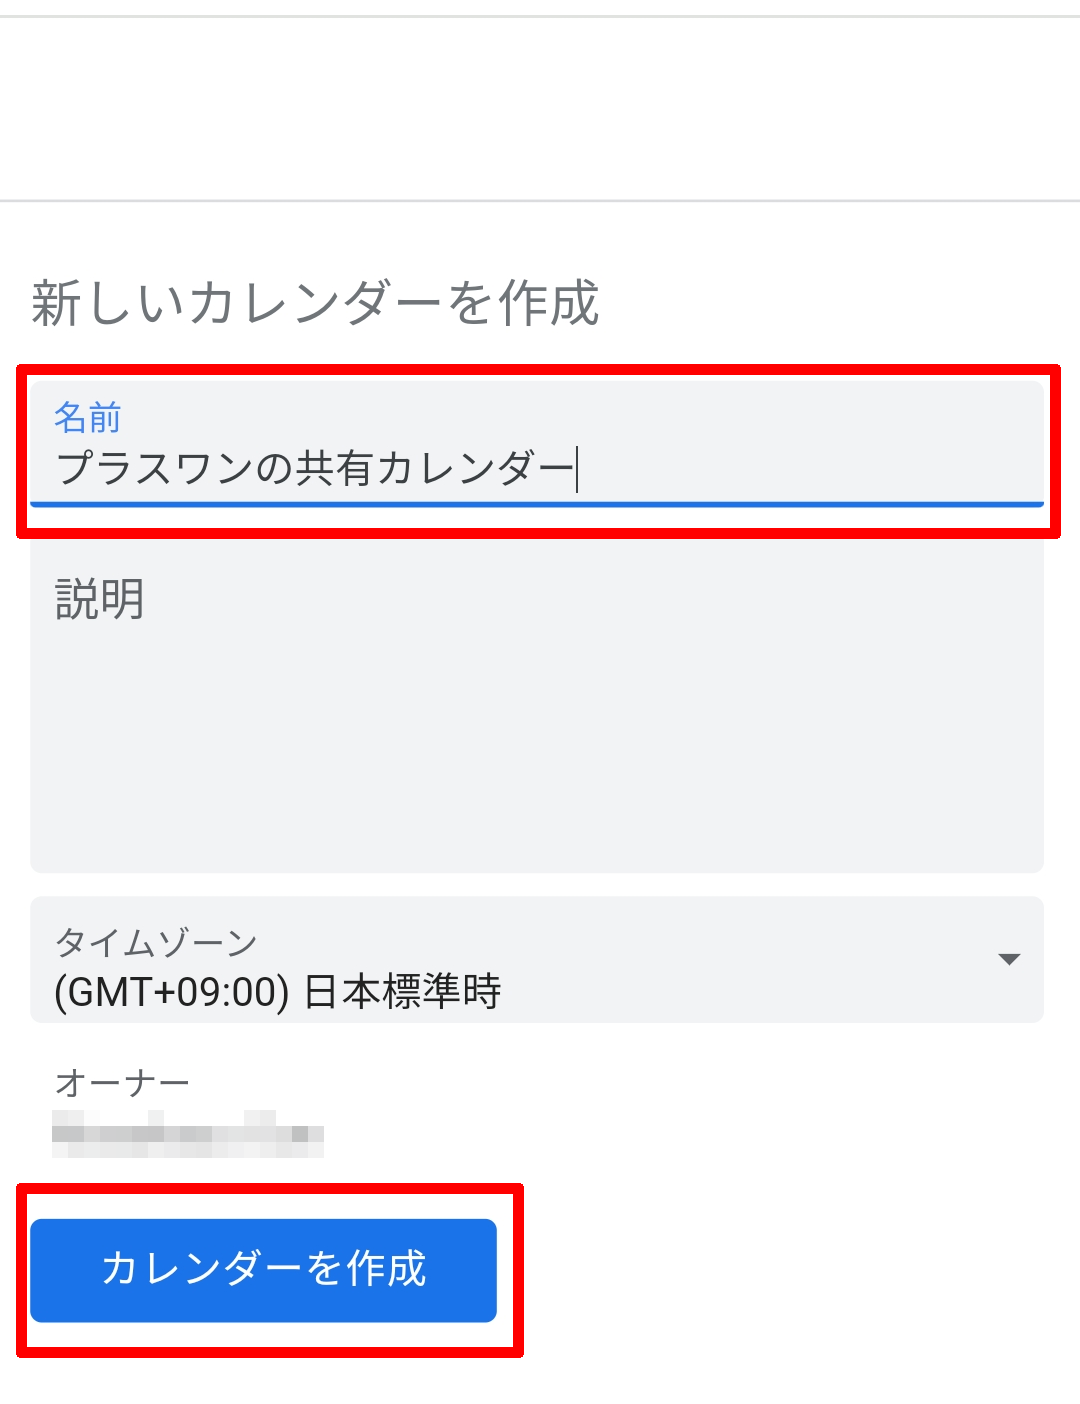
・カレンダーが作成され、左のメニューに表示されます。
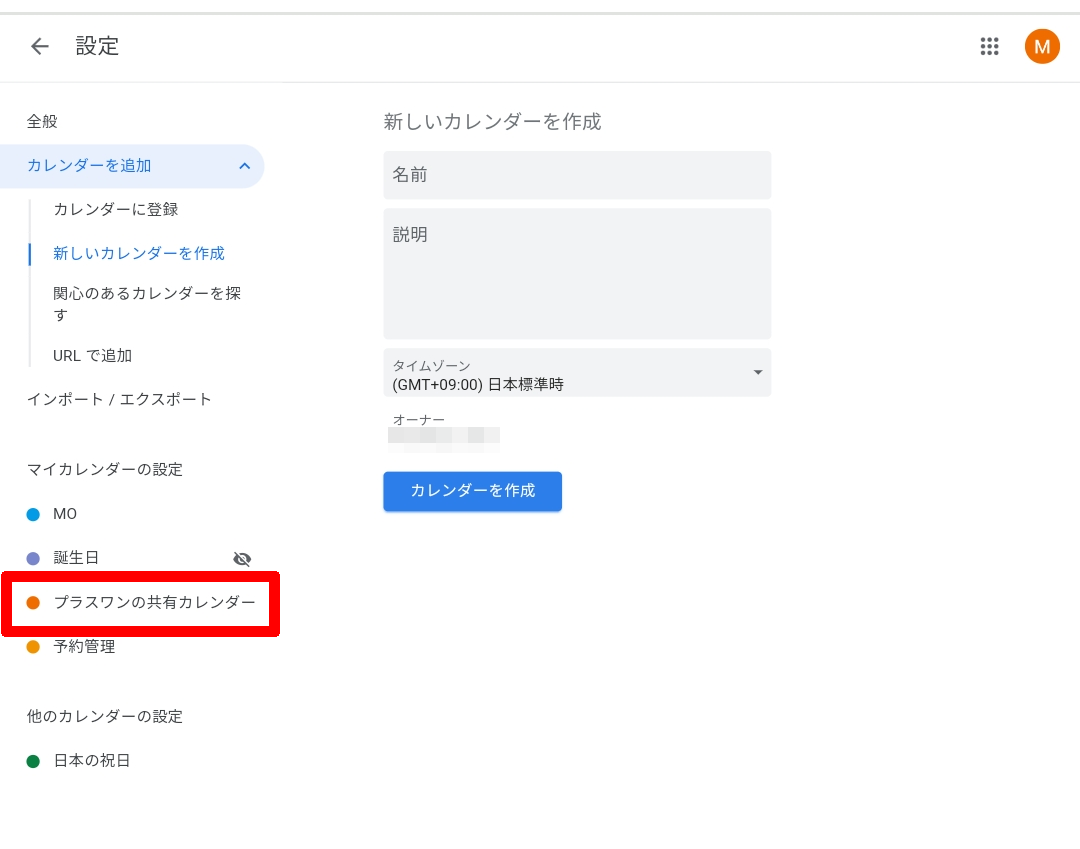
作成したカレンダーを共有できるようにします。
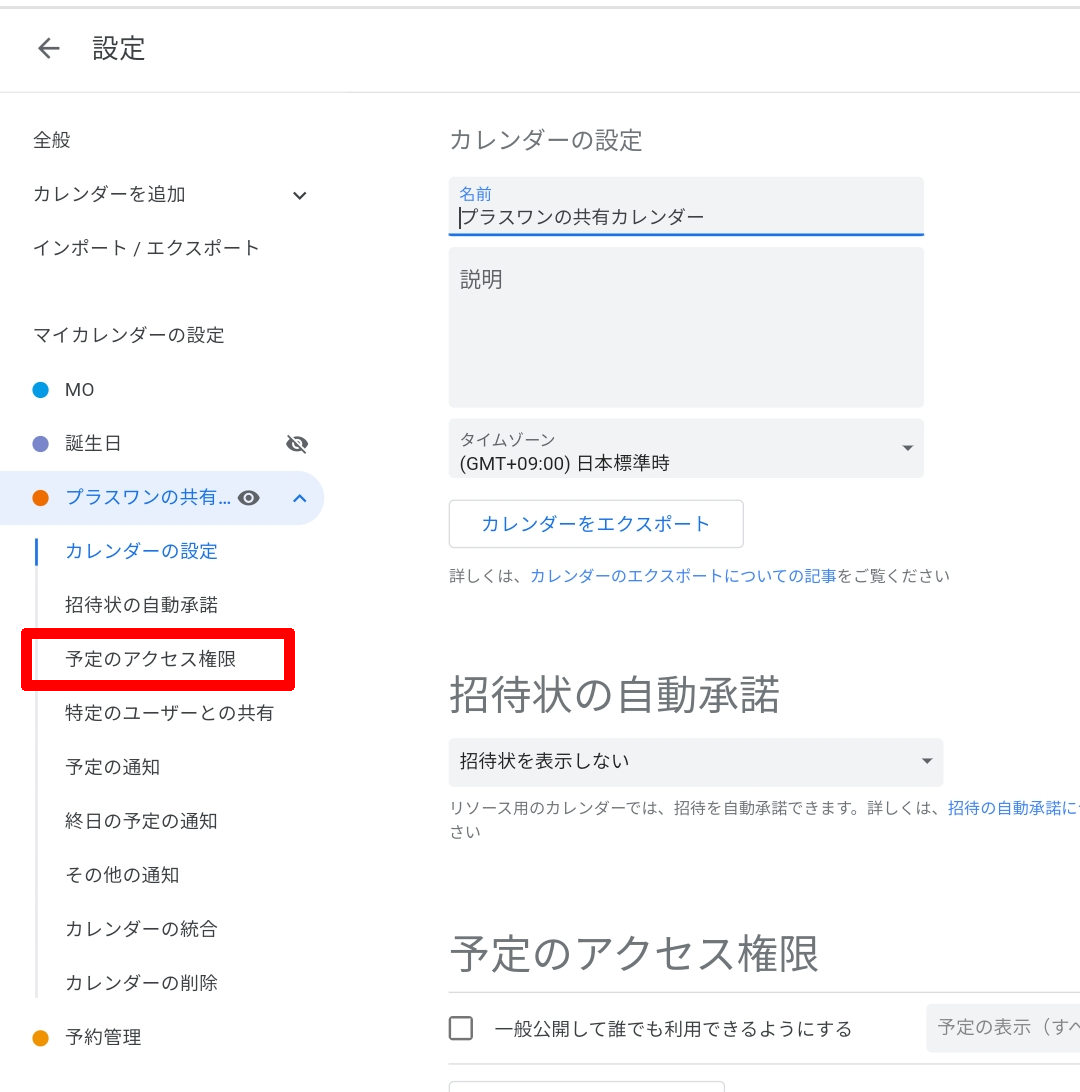
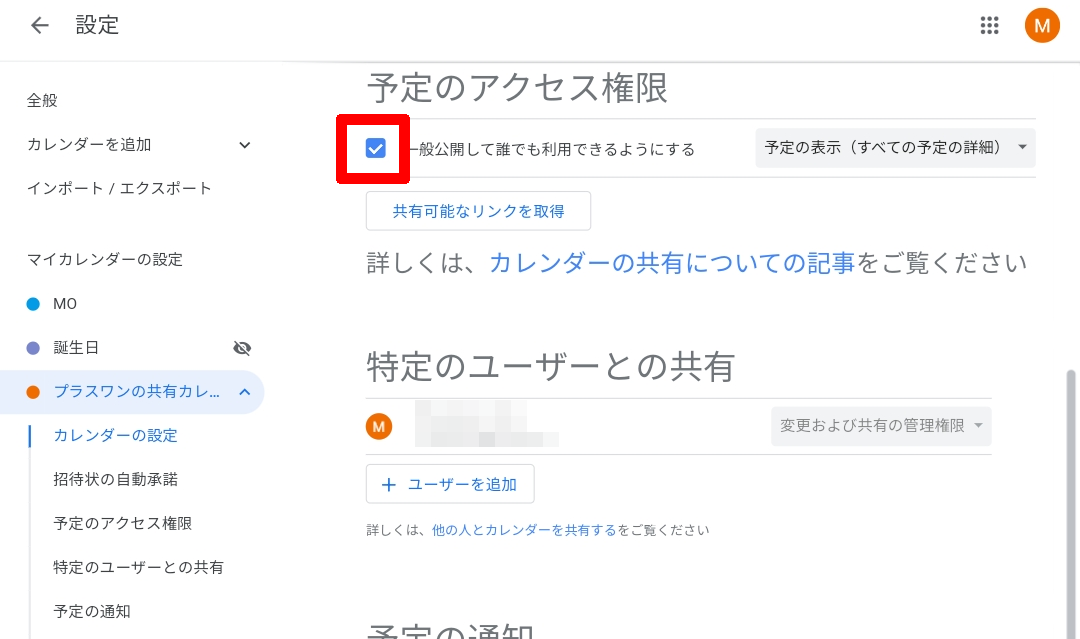
・左のメニューから、追加したカレンダーをタップ → 「予定のアクセス権限」をタップ
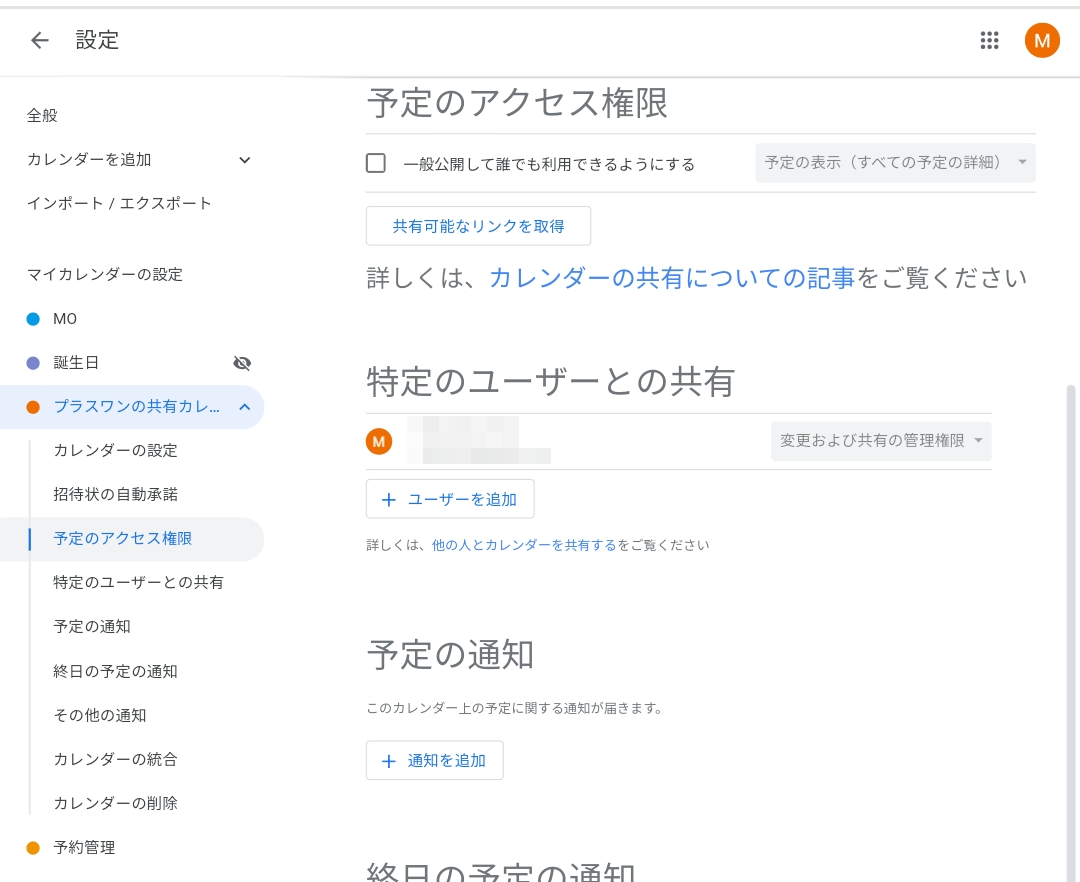
・「一般公開して誰でも利用できるようにする」をタップ → 「OK」をタップ

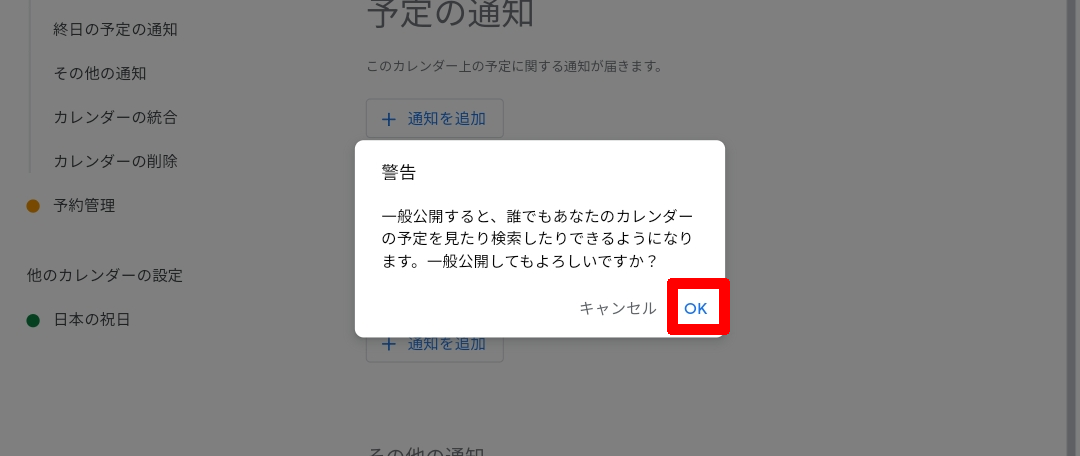
・カレンダーが一般公開され、誰でもカレンダーを見ることができるようになりました。
共有カレンダーのURLを確認する
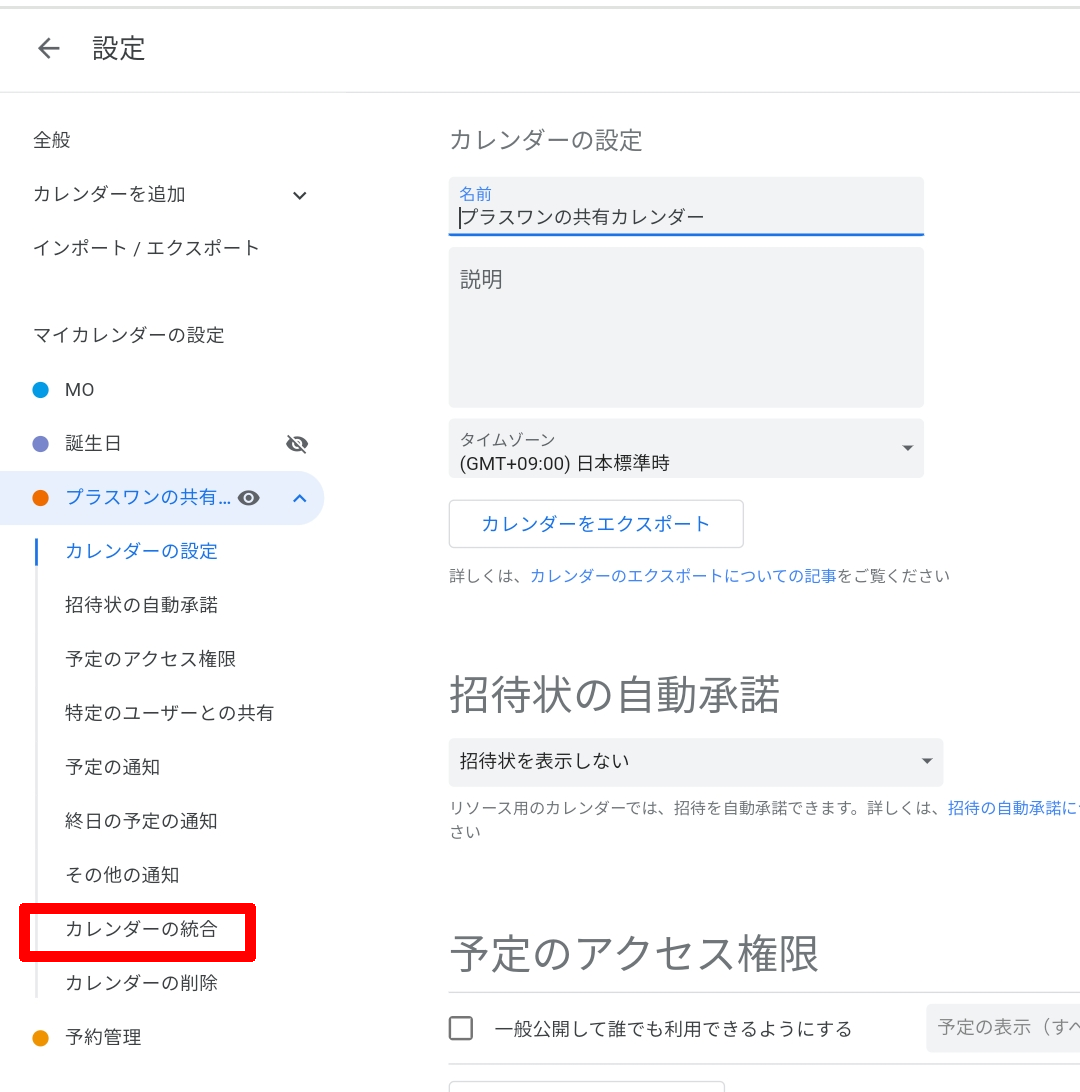
・左のメニューから、追加したカレンダーをタップ → 「カレンダーの結合」をタップ
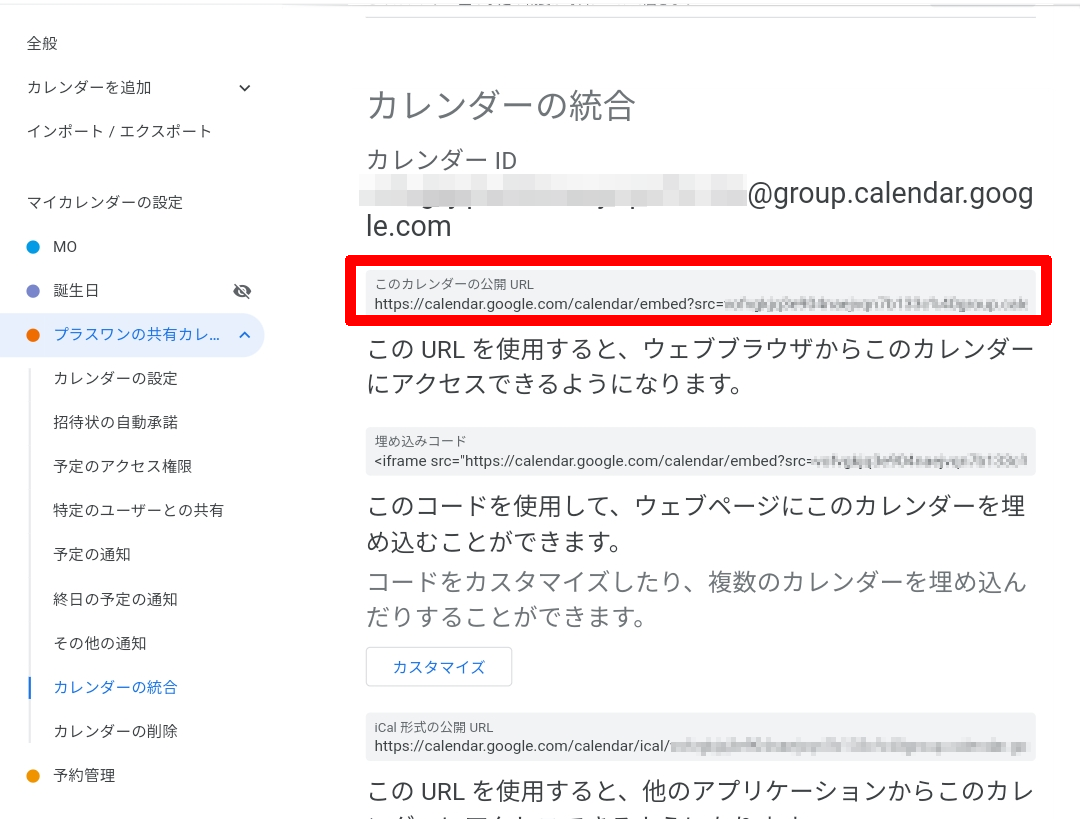
・上記の「このカレンダーの公開URL」にアクセスするとカレンダーが表示され共有できます。
・共有したい人にこのURLを連絡してアクセスしてもらいましょう。
・画面左上の「設定」の「←」をタップするとカレンダー画面に戻ります。予定などを入力してください。
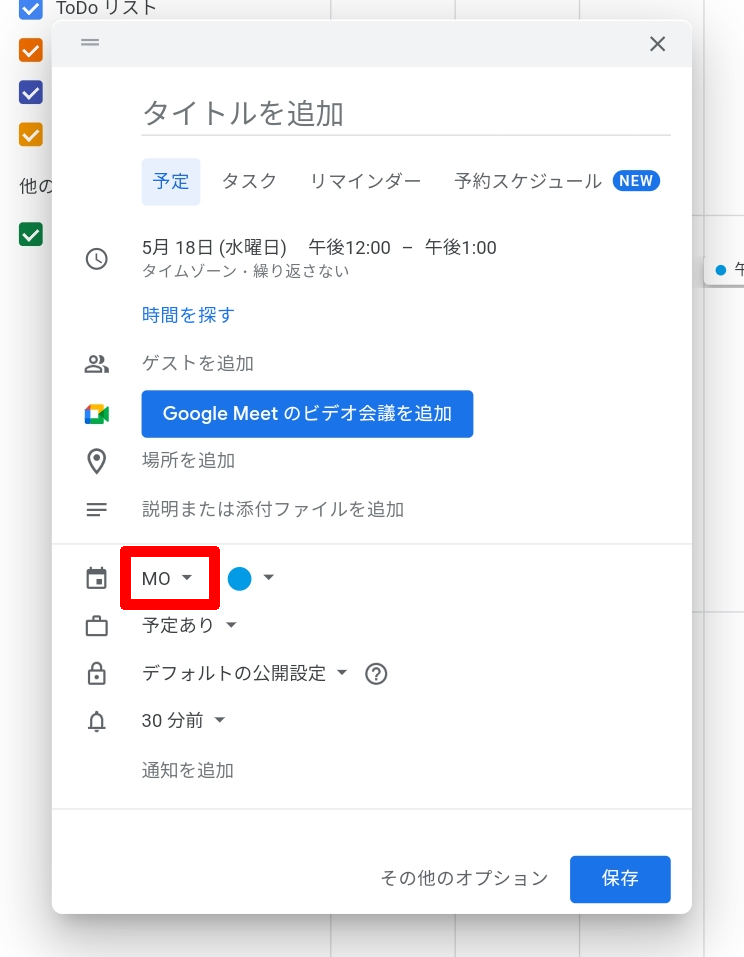
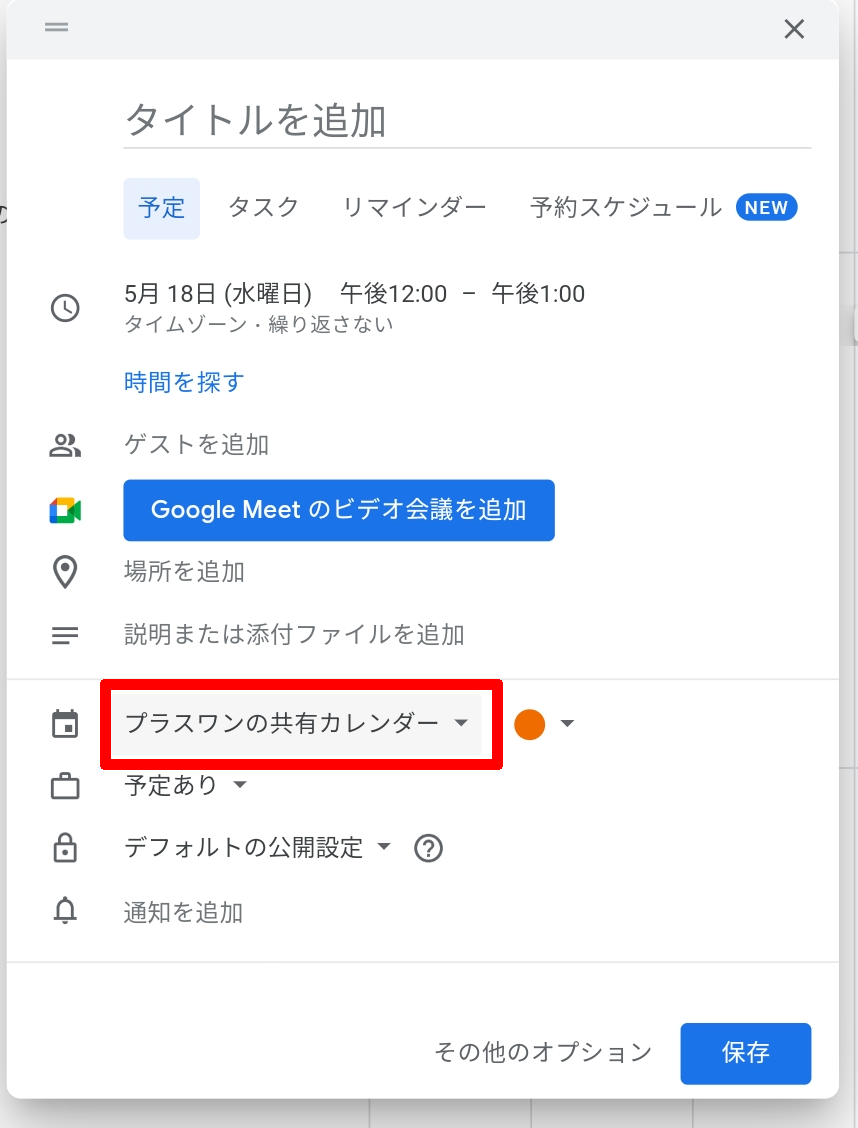
※予定を入力するときは、予定を入れるカレンダーが共有するカレンダーになるようにしてください。
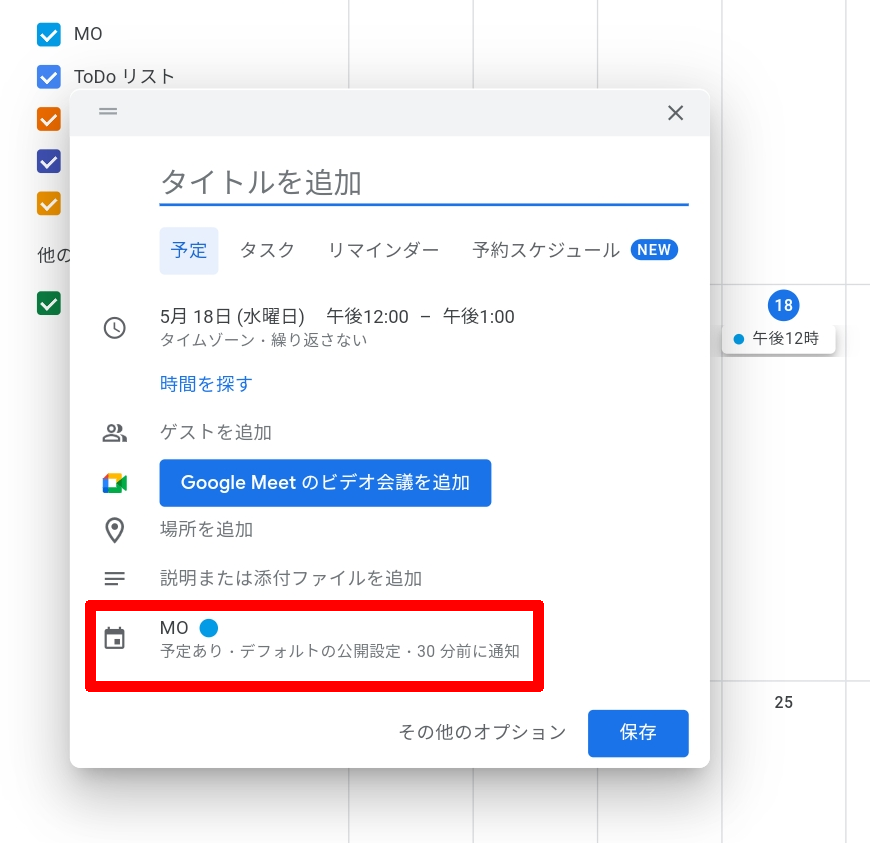
※予定を入れるカレンダーを変更する方法
・カレンダーをタップ → カレンダーをタップ → 変更したいカレンダーをタップ